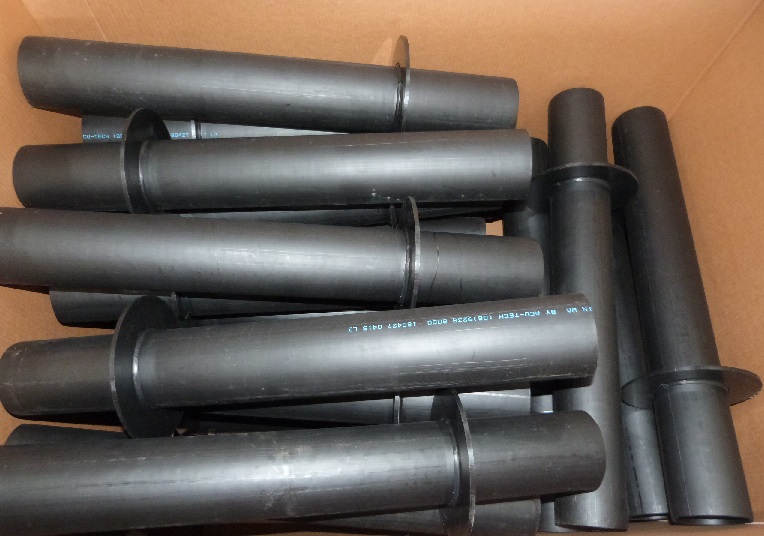
Puddle pipes and flanges are used for fire sprinkler systems to transport water from a hydrant or tank to the sprinkler heads or valves. Puddle pipes are made of PVC, CPVC or metal. They are installed below ground level, typically in trenches and buried between 2 and 6 inches deep.
Puddle Flange Installation
Puddle flanges have a pipe fitting attached to them that allows you to connect them to the sprinkler system. The pipe fitting should be installed with a pipe wrench and tightened using an adjustable wrench. Some puddle flanges have an O-ring seal that needs to be lubricated with grease before installing them on the puddle pipe.
Puddle Pipe Installation
The easiest way to install your puddle pipe is by using a trench digger attachment on your garden hose or power washer. You can also use an auger and drill bit if you prefer more control over how deep your trench goes. Once you’ve dug the trench, place your puddle pipes into position and fill in around them with gravel or sand so they’re stable when filled with water.
Before installing your puddle pipes and flanges, follow these steps:
- Clean the flange and pipe using a brush or wire brush to remove any dirt or corrosion.
- Use a wire brush to remove any rust from around the pipe threads. A wire brush will also help to clean out any crevices where dirt may have collected during storage of your materials.
- Apply a thin coat of lubricant to the threads on both ends of the pipe, as well as on the inside and outside of the flange holes. Lubricants are available at most hardware stores, but you can also use an automotive grease or oil if you don’t have access to commercial lubricant products. Be sure not to apply too much lubricant; just enough to keep things working smoothly is all that’s needed here.
- Screw in one end of your pipes into each flange hole until they reach their full depth into the holes (which will vary depending on how thick your pipes are). It’s best to start with the top flange first so that you can use it as a guide for screwing in its corresponding bottom partner secondarily after its top partner has been fully secured into place first by hand (and vice versa).
Drill a 1.5″ hole into the tank.
The most important thing to do when installing a puddle flange pipe is to make sure you drill the hole in the right place. This can be difficult, as tanks are rarely square. It’s best to measure your tank first and mark the spot on the outside with a paint pen or chalk.
Next, remove all of the old caulking around the opening where the new flange will go. You may need to use a utility knife or similar tool to scrape away any remaining caulk.
Use tin snips or other cutters to cut an oval hole through your tank’s wall. Make sure it’s big enough for your pipe fitting and that there’s enough room for insulation around it. You’ll also want a piece of pipe insulation that fits inside this hole, which should be snug but not tight against the edges of your tank wall (it shouldn’t leave gaps).
Now, use a drill bit that’s slightly smaller than 1 inch and drill through one side of your tank. This will make it easier for you to get through without damaging anything else inside – especially important if you have an underground propane tank!
Pull the pipe through the tank.
The puddle pipe flange is the most important part of the tank, as it provides a seal for the pipe. It should be installed with the thickest side facing the inside.
The flange can be used in two ways to provide a seal:
With a washer or gasket (the packet of washers and gaskets contains both). The gasket goes inside the flange and acts as a seal between it and the pipe. The washers go on either side of the tank wall to support the flange.
Without any washers or gaskets. In this case, you’ll need to use some sort of sealant to provide a seal between the flange and tank wall. You can use silicone caulk or similar material; simply apply it around all four edges of the flange before installing it in place.
Trim off any excess pipe.
Use a pipe cutter to trim off any excess pipe. Try not to cut the pipe too close to the fitting, as it will be easier to solder if there is a small amount of extra pipe.
Use flux on the pipe and fitting to help solder stick better.
Solder the fitting onto the pipe using a propane torch. Heat up the fitting and apply some solder to it until it melts and flows into the joint between it and the pipe. Allow it to cool for about five minutes before removing your torch from the joint.
If you’re using a puddle flange or other type of flange that you need to secure with screws or bolts, now is a good time to do so. You’ll want to make sure that these are installed correctly so they don’t leak later on down the road when they’re under pressure from water pressure.
Push the pipe into the flange ring.
Puddle flange is a type of flange used to connect piping systems. The puddle flange is also known as a slip-on or socket weld pipe fitting, and it has the same basic design as other types of flanges. This type of flange is designed to be pushed into place without any welding.
The puddle flange is typically made from cast iron, although some are made from stainless steel or aluminum. The most common size for this type of fitting is 1 1/4 inches in diameter, although it can be made in other sizes as well.
The puddle flange has an internal groove that allows it to fit onto a pipe that has been turned over and inserted into the groove. When the two pieces are pushed together, they form a tight seal that prevents leaks and other problems with the installation process.
Set the flange ring in place on the tank wall.
Step 1. You will need to cut the hole for the flange in the top of your tank. I used a hole saw that was about 5/8″ in diameter and it worked very well. The flange will be about 3/4″ thick so use a large bit on your drill so that you can go all the way through your tank.
Step 2. Place the flange ring over the opening and mark where each bolt hole goes through the front of the flange with a pencil or marker.
Step 3. Drill out these holes using a drill bit that is slightly larger than your bolts (I used 1/2″ bolts). This will make it easier to fasten down your tank later on.
Step 4. Remove all burrs from around each hole using a file or sanding pad (if necessary).
Attach bolts to secure it in place.
The puddle flange is a type of joint used to connect piping and other types of systems. The flange is secured in place with bolts or other fasteners. The puddle flange has two parts: the base plate and the cover plate.
Puddle Flange Installation
The first step in installing a puddle flange is to prepare the surface where you want to install it. You will have to clean off all dirt, grease and residue from the area so that the flange has a good surface for adhesion. Next, use some sandpaper to rough up the surface so that epoxy can stick to it more easily. After this, apply some primer onto the surface and let it dry before moving on to applying epoxy over it. When this has dried, apply some glue around each hole in order to keep water out during use. This will also help prevent corrosion on your pipe joints.
If you plan on installing puddle pipes and flanges, you’ll want to keep this step-by-step guide handy.
What is a puddle pipe flange?
Puddle pipe flanges are used to create a connection between pipes, tubes and steel sections. They are also used to connect puddle pipes to pumps, meters, valves and other equipment.
The most common type of puddle pipe flange is the cast iron flange. These are typically used in industrial applications where there is high pressure. Stainless steel or plastic puddle pipe flanges are also available for lower-pressure situations.
What’s the difference between a gasket and a puddle pipe flange?
Gaskets are commonly used as an additional layer of protection between two surfaces that don’t make contact directly with each other. For example, you might see gaskets around stove burners and sinks to prevent water from leaking out when they’re not being used. Gaskets can be made out of many different materials, including rubber or metal rings with varying thicknesses depending on the application.


More Stories
Satisfactory Ukraine Dedicated Server: Hosting and Set-Up
GlassWire 3.3 is Available for Download!
Cryptainer Pro Encryption Software – Encrypt Any Data, Any File or Folder on Any Windows PC